
- A+
Resetting the Epson TX720WD Printer A Step-by-Step Guide
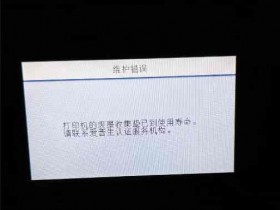
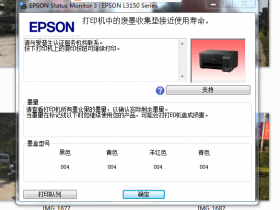
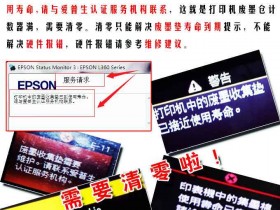
Printing problems can be frustrating for any user. One of the most common issues with printers is when they display error messages, indicating that ink is low or that the waste ink pads are full. The good news is that there are solutions to this problem, and resetting your printer may just be what you need to do. In this guide, we'll show you step-by-step how to reset the Epson TX720WD printer.
Step 1: Preparation
Before resetting your printer, make sure you have all the necessary tools and information. You will need the following:
A computer running on Windows
A USB cable
The latest version of the application "Resetter Epson TX720WD."
You can find the application online, or you can get it from your local computer store. Once you have all the things you need, proceed to the next step.
Step 2: Connecting the printer to the computer
Next, you need to connect the printer to your computer using a USB cable. Make sure your printer is turned off before doing so. Once connected, turn the printer on, and your computer should detect it automatically.
Step 3: Installing the printer driver
If you haven't installed the printer driver yet, now is the time to do so. You can download it from the Epson website or install it from the installation CD that came with your printer. Just follow the instructions provided, and the driver should install relatively easily.
Step 4: Running the Resetter application
With the driver installed, your next step is to run the resetter application. Launch the application and follow the on-screen instructions. The application will detect your printer automatically and prompt you to reset the ink levels or reset the waste ink pad counters.
Step 5: Selecting the task to perform
You should select the task you want to perform on your printer. If your printer displays an error message that ink is low, you should reset the ink levels. If, on the other hand, it displays an error message about the waste ink pads being full, you should reset the waste ink counters.
Step 6: Resetting the printer
After selecting the task you want to perform, proceed to reset your printer. The resetter application will do everything for you automatically. The process usually takes a few minutes, and you should not power off your printer or your computer while it's in progress. Once done, the printer should restart automatically.
Step 7: Testing the printer
The final step is to test your printer. Print a test page to confirm that it's working correctly. If everything is okay, you're good to go. If not, redo the process from step 4 and select the task that you didn't perform before. Alternatively, you can seek help from a professional to fix the problem you may be experiencing.
Conclusion
Resetting your Epson TX720WD printer is easy if you follow the step-by-step guide provided. Make sure you have all the necessary tools and information before starting the process, and be patient throughout. With our guide, you should be able to reset your printer, and have it working correctly without any issues.