
- A+
Introduction
The Epson R230 printer is a popular printing device used by many users for both personal and professional purposes. However, like any other electronic device, it may encounter some issues that can be resolved using various solutions. One of the most common problems faced by Epson R230 users is the failure to reset the printer. This article will show you how to reset your Epson R230 printer to its factory settings using available software.
Why Reset Your Epson R230 Printer?
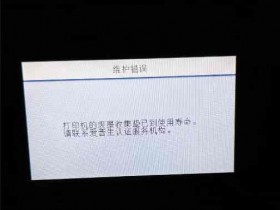
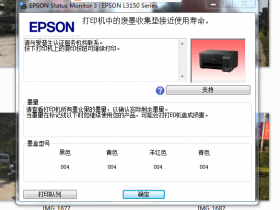
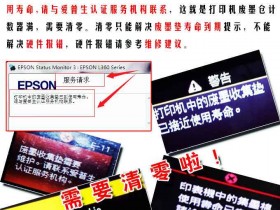
There are different reasons why you might want to reset your Epson R230 printer. In most cases, users reset their printers when they face printing issues such as low ink warnings, paper jams, and other errors. The reset process helps to clear any accumulated errors that might be affecting the performance of the printer. By resetting your Epson R230 printer, you will also save on costly repairs and maintenance services that you would have to pay for if you didn't reset the printer.
Steps to Reset Your Epson R230 Printer
To start the reset process, you need a reset software that enables you to reset your printer conveniently. One of the most efficient reset software is the Epson R230 resetter tool. Here are the steps to follow when using the Epson R230 resetter tool.
Step 1: Download the Epson R230 Resetter Tool
To download the Epson R230 resetter tool, visit the official Epson website and download it from the support page. Ensure you download the latest version compatible with your printer's operating system.
Step 2: Install the Resetter Tool
Once you have downloaded the resetter tool, install it on your computer by double-clicking the downloaded file and following the installation prompts. You will need to provide administrative credentials to complete the installation.
Step 3: Launch the Resetter Tool
Launch the resetter tool by double-clicking the shortcut icon on your desktop or from the start menu. Ensure your printer is connected to the computer and turned on.
Step 4: Choose the Model and Port of Your Printer
From the resetter tool, choose the model and port of your printer. Ensure you select the correct information to avoid any errors during the reset process.
Step 5: Click on the "Initialization" Button
Click on the "Initialization" button and wait for the reset process to complete. Once the reset process is complete, the printer will automatically shut down.
Step 6: Turn on your Epson R230 Printer
Turn on your Epson R230 printer to confirm that the reset process was successful. The printer should now be back to its factory defaults settings.
Conclusion
Resetting your Epson R230 printer is an excellent solution when encountering printing issues. By following the above-listed steps using the Epson R230 resetter tool, you can quickly reset your printer and get back to printing your documents. However, if the reset process fails, consider seeking help from a professional to help you fix the problem. Remember, resetting your printer should only be done when necessary to avoid damaging your printer’s hardware.