
- A+
Reset Your Epson R230 with the Dedicated Software - English Version
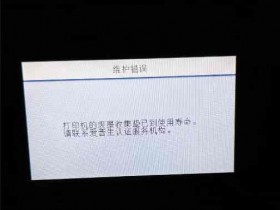
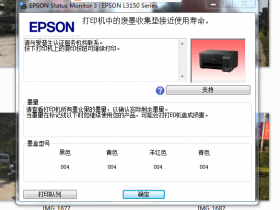
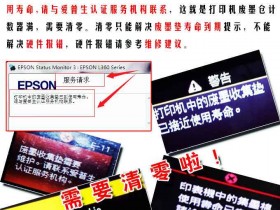
The Epson R230 is a popular choice for home and small office printing needs. However, like all printers, the Epson R230 can experience issues such as low ink alerts and error messages. Fortunately, there is a dedicated software program available to help you reset your Epson R230 printer and get it back to its optimal performance levels. In this article, we will provide you with a step-by-step guide on how to use the Epson R230 Resetter Software to reset your printer.
Step 1: Download the Epson R230 Resetter Software
The first thing you need to do is download the Epson R230 Resetter Software. This is a free software program that is available online. Simply search for "Epson R230 Resetter Software" and you will find several sources. Once you have downloaded the software, extract the files to your PC or laptop.
Step 2: Run the Epson R230 Resetter Software
Now that you have downloaded and extracted the software files, you need to run the program. Connect your Epson R230 printer to your computer and turn it on. Launch the "AdjProg.exe" file from the extracted folder. Once the program is launched, you will see the main screen with several options.
Step 3: Select the Model and Port
The next step is to select the model of your printer and the port. You need to select "Epson R230" as the model and the port that your printer is connected to. You can choose the port that your printer is connected to by right-clicking on the printer icon in the "Devices and Printers" section of your computer and selecting "Printer Properties". In the Printer Properties window, look for the "Port" tab and select the port that your printer is connected to.
Step 4: Click "Particular Adjustment Mode"
After selecting the model and port, click on "Particular Adjustment Mode" on the main screen of the software. This will take you to a new screen with various options.
Step 5: Select "Waste Ink Pad Counter" and Click "OK"
On the new screen, select "Waste Ink Pad Counter" option and click "OK". This will take you to another screen that shows the "Waste Ink Pad Counter". Click on the check box next to "Main Pad Counter" and then click on "Check" to see the current value of the counter.
Step 6: Click "Initialization" and "Finish"
The last step is to click on "Initialization" and then "Finish" to complete the reset process. Once the process is complete, you will see a message on the screen that confirms the reset operation was successful.
Resetting your Epson R230 printer with the dedicated software is a simple process that can save you time and money. By using the software to reset your printer, you can avoid having to take your printer to a repair shop or buying a new printer. The step-by-step guide outlined in this article will help you easily reset your Epson R230 printer and get it back to its optimal performance.