
- A+
Introduction
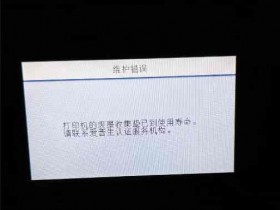
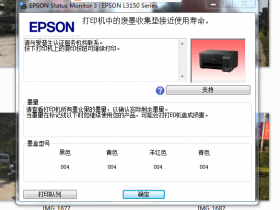
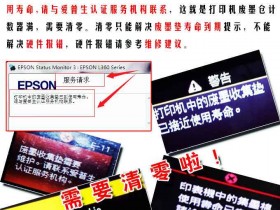
Resetting your Epson 1390 printer to factory settings is a quick and easy way to solve printing issues or errors. It can also help in restoring the printer's default settings in case you have made changes that are causing problems. In this article, we will guide you through the step-by-step process of resetting your Epson 1390 printer to factory settings.
Step 1: Turn off the Printer
The first step is to make sure that the printer is turned off. If the printer is on, press the power button to turn it off. After this, unplug the printer from the power source.
Step 2: Press and Hold the Resume Button
Locate the printer's resume button. This button is usually located on the front panel of the printer, near the power button. Press and hold this button down for about 10 seconds. The power LED light should start flashing.
Step 3: Release the Resume Button
After holding down the resume button for 10 seconds, release it. The power LED light on the printer should stop flashing and remain on. This indicates that the printer is now in factory reset mode.
Step 4: Perform the Factory Reset
To perform the factory reset, press the resume button two times. The power LED light should start flashing again. After this, press the power button once. The printer will turn on briefly and then turn off again. This signifies that the factory reset process is complete.
Step 5: Turn on the Printer
Finally, turn on the printer by pressing the power button. Wait for a few seconds for the printer to initialize and then try printing a test page. You should be able to print without any issues now.
Conclusion
Resetting your Epson 1390 printer to factory settings is an effective way to resolve printing problems or errors. It's a simple process that can be completed in just a few minutes. Follow the steps mentioned in this guide to reset your printer and restore it to its default settings.