
- A+
Epson Printer Reset Guide in English
In this article, you will learn how to reset your Epson printer back to its default factory settings. Resetting your printer will clear all error messages and bring your printer back to a like-new condition.
Step 1: Check Your Ink Levels
Before you reset your printer, check your ink levels. If your ink levels are low, replace the cartridges before resetting your printer. Resetting your printer with low ink levels can damage your printer and cause printing issues.
Step 2: Turn Off Your Printer
Turn off your printer and unplug it from the power source. Let your printer sit for a few minutes to allow it to cool down before proceeding.
Step 3: Press and Hold the Reset Button
Locate the reset button on your printer. The location of the reset button may vary depending on your printer model. Press and hold the reset button for a few seconds, and release it once the printer powers on.
Step 4: Wait for the Printer to Reset
Wait for your printer to reset. This can take a few minutes depending on your printer model. Do not turn off your printer or unplug it from the power source during the reset process.
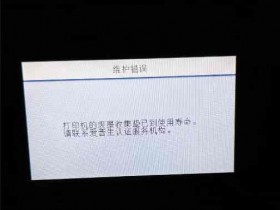
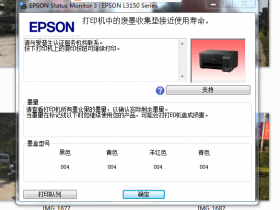
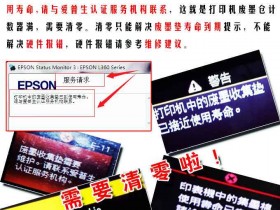
Step 5: Check for Error Messages
After your printer has completed the reset process, check for error messages. If there are any error messages, refer to your printer manual or the Epson support website for steps on how to resolve the issue.
Step 6: Test Your Printer
After resetting your printer, print a test page to ensure that your printer is working correctly. If you encounter any issues, refer to your printer manual or the Epson support website for further assistance.
Conclusion
Resetting your Epson printer can help clear error messages and bring your printer back to a like-new condition. Before resetting your printer, ensure that your ink levels are sufficient to avoid any damage. Follow the steps outlined in this guide to reset your Epson printer back to its default factory settings.