
- A+
Introduction
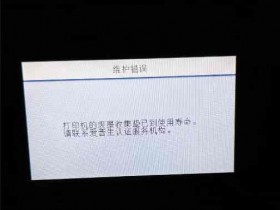
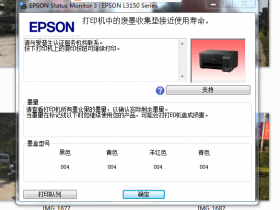
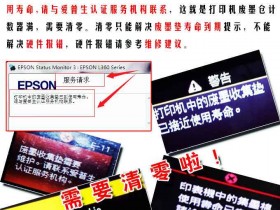
Epson R330 is a reliable printer that delivers quality prints. However, at times, you may need to reset the printer to its default settings due to various errors. Resetting the printer to its factory settings will erase all the previous configurations and give it a fresh start. Here is a guide on how to reset Epson R330 printer.
Step-by-Step Guide on How to Clear the Epson R330 Printer
Clearing the printer involves various steps that are easy to follow. Below is a step-by-step guide on how to reset the Epson R330 printer:
Step 1: Verify that the Printer is Connected
Ensure that your printer is on and connected to the power source. Check if it is connected to your computer or the network. The printer should be properly connected before you proceed with the reset process.
Step 2: Access the Control Panel
Press and hold the "Power," "Maintenance," and "Stop" buttons on the printer's control panel simultaneously for five to ten seconds to access the control panel.
Step 3: Select the Reset Menu
On the control panel, select "Reset Menu" and press on the "OK" button. Scroll through the different options available and select "Clear Setting." Press the "OK" button to confirm the selection.
Step 4: Resetting the Printer
After selecting "Clear Setting," the printer will start to reset automatically. Wait for the process to complete before you can proceed to use the printer. Once the reset is complete, the printer will restart automatically, and it's ready for use.
Conclusion
In conclusion, resetting your Epson R330 printer is easy and straightforward. Ensure that you back up any important files and documents before proceeding with the reset process. Resetting the printer to its default settings will eliminate any errors, giving the printer a fresh start. Follow the steps above and reset your Epson R330 printer today.