
- A+
Introduction
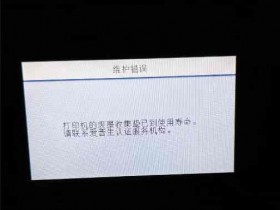
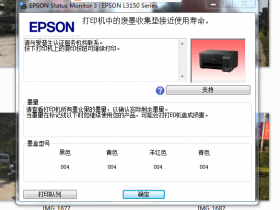
Many Epson printer models come with sample cartridges that have less ink than a regular cartridge. Once you have used up all the ink in the sample cartridge, the printer will stop printing and prompt you to replace the cartridge. However, some users have reported that even after replacing the sample cartridge with a new one, the printer still displays the "replace cartridge" message. This is where resetting the Epson printer sample cartridge comes in handy. In this article, we will show you how to reset an Epson printer sample cartridge.
Step 1: Remove the Cartridge
The first step is to remove the sample cartridge from the printer. Make sure the printer is turned on, and then open the front cover. The cartridge will move to the center of the printer. Carefully remove the sample cartridge by pushing down on the latch and then pulling it out of the printer.
Step 2: Reset the Sample Cartridge
Once you have removed the sample cartridge, you will need to reset it. Look for the small chip on the side of the cartridge. This chip stores information about the printer and the cartridge, such as the ink level and the number of prints. You will need to reset this chip to trick the printer into thinking that the cartridge is a new one.
There are several ways to reset the chip on an Epson sample cartridge. One method is to use a chip resetter device, which you can purchase from an electronics store or online. Follow the instructions that come with the resetter to reset the chip on your cartridge.
If you don't have a chip resetter, there is a manual method you can try. Using a small screwdriver or a paper clip, carefully remove the chip from the cartridge. Be gentle and make sure you don't damage the chip. Once you have removed the chip, wait for a few minutes and then insert it back into the cartridge. This should reset the chip.
Step 3: Reinstall the Cartridge
After you have reset the chip on the sample cartridge, it is time to reinstall it in the printer. Make sure the printer is still turned on and the front cover is open. Carefully insert the cartridge back into the printer, making sure it clicks into place. Close the front cover, and the printer should start initializing the cartridge.
Step 4: Test the Printer
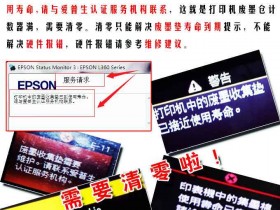
Finally, it is time to test the printer to see if the cartridge has been reset successfully. Try printing a test page or a document, and check if the printer prompts you to replace the cartridge. If the printer continues to display the "replace cartridge" message, you may need to repeat the resetting process or contact Epson customer support for further assistance.
Conclusion
Resetting an Epson printer sample cartridge is a simple process that can save you money and frustration. By resetting the chip on the cartridge, you can trick the printer into thinking that the cartridge is a new one, and continue using it without having to buy a new one. Whether you use a chip resetter device or the manual method, make sure you follow the instructions carefully and handle the cartridge and chip with care. Happy printing!